Throw Food For Animals Beginner Guide
First hour walkthrough · upgrade order · pen & selling mechanics · new-player mistakes
The Core Loop, Explained Once
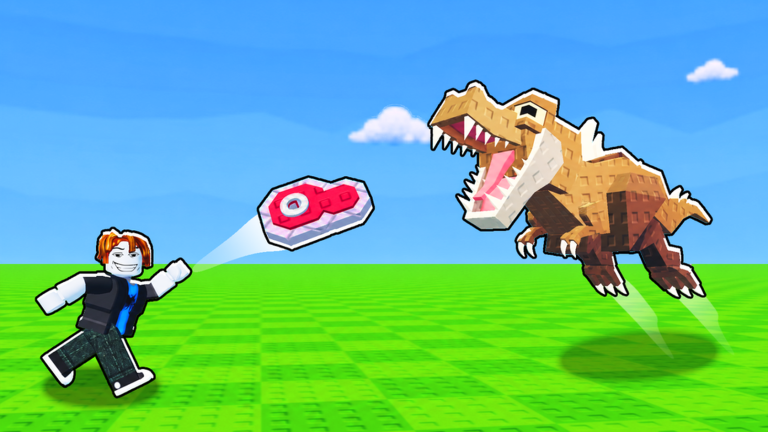
Everything in Throw Food For Animals runs on one loop: throw food, collect the animal that comes, place it in your pen, spend its earnings. Your animals make money every second whether you're playing or AFK, which makes this an idle game wearing an active-game costume. The skill layer lives in three decisions: what food to load (decides which animals appear), when to release your throw (decides distance), and where to spend the money (decides how fast the whole loop compounds). This guide walks each one in the order a new player actually meets them.
Your First Ten Minutes
You spawn with a Carrot pre-equipped and nothing else. Hold to charge the throw and watch the meter — the community-tested sweet spot is releasing right around 20, which lands maximum distance for your current Throw Power. Whatever animal shows up (expect a Frog or Bunny in the Forest) walks to your food, and you'll get a prompt to collect it. Collect, then place it in one of your pen slots immediately: an animal in inventory earns nothing, an animal in a slot earns cash every second.
With your first earner ticking, walk to the shop. Two things matter there today. The blue-and-white Food Shop stand sits just left of your base entrance — the Apple at $30 is your first upgrade over the Carrot. And somewhere in the shop's Free Item row a free Hyena periodically appears, earning $200/s — more than anything else you'll see in your first hour, at the unbeatable price of zero. Claim it whenever it's there; freebies in this game come from that row, not from codes (the game has no code system).
The Upgrade Order That Compounds
Every source that tracks this game converges on the same spending priority, and it's worth internalizing as a rhythm: pen slots first, full-tier food jumps second, training third, single-step food upgrades last. Pen capacity is cheap and every level adds two earning slots — a full pen of mediocre animals out-earns an empty slot's worth of premium food. When you can afford the next full rarity tier of food (not the next item — the next tier), buy it immediately; that's what upgrades your animal pool. Train on the pull-up stand whenever your throws land short of where you want them, and hit the pop-up events during training for double gains in a short window — experienced players never train without timing those clicks.
The selling side keeps this machine fueled. Your plot holds ten earning animals; the rest is inventory. When a new catch beats a slot-holder, sell the old one at the red-and-white stand (right of your throwing spot) or through the Animals menu — sale value runs roughly 20x the animal's income per second, so culling is a meaningful cash infusion, not cleanup. There's also an Equip Best button in the Animals menu that swaps your strongest earners into slots automatically; use it after every catching session so nothing strong sits idle.
Reading Distance, Depth and Zones
The map stretches across the classic 15 zones — Forest, Savanna, Desert, Jungle, Ocean, Mountains, Taiga, Winter, Prehistoric Forest, Deep Waters, Ancient Ruins, Mythical Paradise, Shadow Realm, Harvest Fields and Phantom Harbor — with the October 2026 update layering new areas (including the Nuclear Wasteland) on top. Each biome is internally split into thirds: front-third throws only meet that zone's rank-4-and-below animals, mid-third reaches rank 6, and only the back third can spawn the zone's top ranks. This is the single most-missed mechanic in the game — if you're throwing great food into the front of a zone and catching trash, the food isn't the problem, the landing spot is.
When a zone's bestiary feels exhausted, the progression move is always the same: train until the next zone is reachable, keep your food tier current, and treat arriving somewhere new as a milestone to fund — not a signal to stop and complete the last zone's food-gated collection. The Animal Index rewards for finishing a biome's set are real but slow; distance progression pays faster because deeper animals simply earn more per second than any completion bonus.
Mistakes That Stall New Players
Three habits cause most early walls. Buying food in small steps: piecemeal upgrades drain cash that pen slots and training need — hold for tier jumps. Ignoring the meter: releasing at random charge levels wastes half your throws' potential; the ~20 release point becomes muscle memory within a session. And hoarding collections over earners: keeping a complete set of Forest animals in your pen feels tidy but costs you real income — collections belong in the Index, earners belong in slots. One more from the community's caution list: never install "auto perfect throw" scripts or similar tools. They violate Roblox's terms and risk your account, and honestly, the meter timing is the most engaging part of the game anyway.
Where To Go Next
Once your first hour is settled, the mid-game opens along three tracks. Distance players push Throw Power toward the far zones — our Throw Power training guide covers bars, XP math and the pop-up event timing. Collection players hunt mutations: Rainbow rolls (x20 income) and size variants stack, and our mutations guide explains the odds. And when you're ready to spend Robux or compare egg values, the shop & Robux items page prices every official item from server luck to the Pumpkin Monster. Whatever track you pick, check the codes page occasionally — the moment the developers add a code system, free goodies start flowing.
FAQ
How do you play Throw Food For Animals?
What should I do in my first hour?
How do I sell animals?
Is completing the Animal Index worth it?
What's the difference between base expansion and selling?
Should I buy the game passes?
Data checked November 8, 2026. Throw Food For Animals updates often — we re-verify numbers after each update.