Throw Power & Training
The pull-up grind · pop-up event timing · bar economics · the depth connection
What Throw Power Actually Does
Throw Power is the game's distance stat, and distance is the game's progress gate. Every zone sits at a reach threshold; every zone's back third sits a bit further; every rare animal you'll ever hunt lives in a back third. Food quality decides which animals come to your landing spot, but it contributes nothing to where that spot is. This division of labor is the whole strategy of the mid-game: training buys access, food buys quality. Players who confuse the two stall out — the classic symptom is buying ever-more-expensive food while catching the same mediocre roster because the food keeps landing in the front third of a zone.
The Pull-Up Grind
Pull-up stands are the free, unlimited way to raise Throw Power. The stand unlocks after the tutorial, and each session grants XP toward your next power point. The passive-income loop makes this grind painless in a way most games aren't: your pen earns cash every second while you train, so a training session is never dead time — it's AFK income plus distance progress in one. Experienced players structure their sessions as catch-run, sell, train, repeat, keeping the pen full so the XP grind pays for itself.
Two multipliers supercharge the grind. The pop-up events that appear during training double your gains for a short window when clicked — the single biggest free efficiency gain in the game, and the reason veteran players train actively rather than idling through it. And the x2 Training Power game pass (149 Robux) doubles every pull-up's XP permanently, which matters most in the mid-game where zone thresholds start demanding long sessions. If you buy only one thing with Robux, most players should make it x2 Cash; if you buy two, training is the second.
Bars: When The Upgrade Is Worth It
Training stands come in tiers — the starter Wooden Bar works, but better bars make each training session more effective. The trap is sequencing: bars don't earn anything themselves, so buying them before your pen slots are full and your food tier is current slows your economy for a speed gain you can't afford to use yet. The community-tested order is slots, food jumps, then bars — and specifically, buy a bar when you can point at a zone whose back third is just barely out of reach. That's when training efficiency converts directly into new roster access, which converts into income, which funds everything else.
Exact bar prices aren't published in any source we track — the shop displays them contextually in-game — so treat any site listing a fixed bar price table with suspicion (same rule as our fake codes warning: if it isn't verifiable, it isn't listed here). What we can say confidently: the Robux Throw Power packs from the shop snapshot (+5/+30/+150/+500) exist as instant-distance shortcuts, and they're priced as convenience, not efficiency — fine for breaking one specific wall, weak as a primary strategy.
Putting It Together: The Distance Ladder
Here's the practical training rhythm that compounds. First, establish your current back-third zone — the deepest place your throws land consistently (not occasionally). Farm it with your best food tier until pen slots are full of its best earners. Sell the dead weight, then train in bursts between catch-runs, clicking every pop-up event, until the next zone's front third is comfortably reachable. Step forward, fill slots again, and repeat. Each loop raises both your income and your reach, and the two fund each other — that's the entire mid-game, compressed into one sentence.
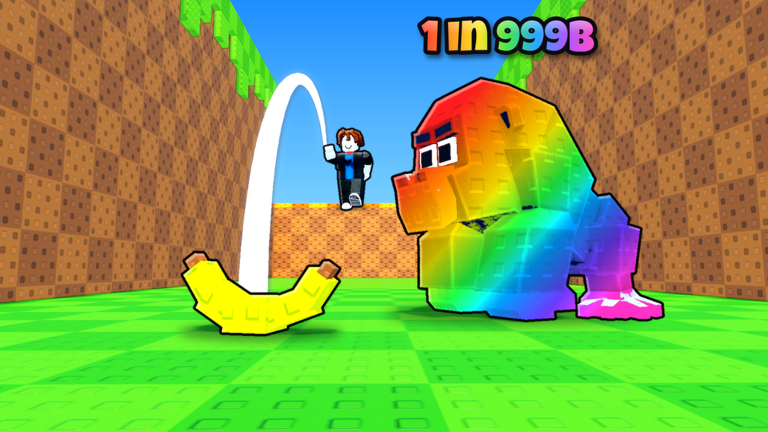
For hunting specifics — what to throw at which depth once you're there — the tier list ranks every animal by income and the zones page maps every roster. And when your reach finally touches Phantom Harbor or the Nuclear Wasteland, the mutation odds start mattering: a Rainbow roll (x20 income, roughly 1 in 200 catches) during a shared 16x luck window is the biggest jackpot the game offers.
FAQ
How do you increase Throw Power in Throw Food For Animals?
How do I throw farther right now?
What are the pop-up events during training?
Should I buy a better bar?
Can I buy Throw Power with Robux?
Why do my rare animal hunts keep failing?
Do I need Throw Power or better food first?
How long does it take to reach the late zones?
Data checked November 8, 2026. Throw Food For Animals updates often — we re-verify numbers after each update.