
All Zones & Areas
17 areas in progression order · animal rosters · the third-depth spawn rule · new maps flagged
How Zones Work
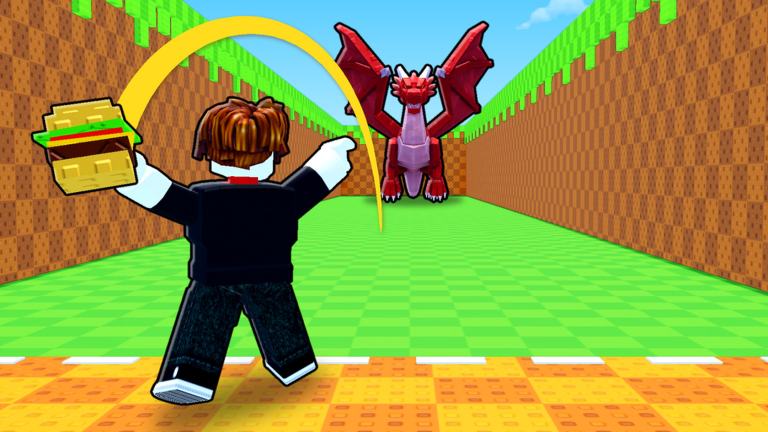
Zones are the game's progression spine. Distance is the gate: your Throw Power decides how far food flies, and where it lands decides which zone's animal pool you're fishing from. Every zone further out holds stronger, rarer, higher-earning animals — which is why the entire mid-game economy is a race between training (for distance) and food upgrades (for quality) to open each new area's roster. In-game, the landing spot marker previews reachability, so you always know whether the next zone is one training session or twenty away.
The mechanic most zone guides miss: each biome is divided into thirds by depth. Front-third throws only produce that zone's rank-4-and-below animals, the middle third reaches rank 6, and only the back third spawns the top ranks. This means "reaching a zone" and "actually farming a zone" are different thresholds — back-third consistency requires more Throw Power than boundary touching. Plan upgrades around the back third, not the signpost.
Starter (1-5)
Forest
Animals tracked here: Bunny, Frog, Snail, Hamster, Badger, Owl, Kookaburra, Quokka, Bat, Guinea Pig. The Forest is where everyone starts — the carrot brings your first Frog or Bunny here, and the free shop Hyena out-earns everything in this zone.
Savanna
Animals tracked here: Zebra, Lion, Giraffe, Elephant, Hyena, Kangaroo, Ostrich, Pony, Cow, Horse, Llama, Aardvark, Crocodile
Desert
Animals tracked here: Jackal, Dingo, Snake, Vulture, Cobra, Lizard, Camel
Jungle
Animals tracked here: Koala, Parrot, Gorilla, Tiger, Capybara, Crocodile
Ocean
Animals tracked here: Seal, Leafy Sea Dragon, Mantis Shrimp, Seahorse, Goblin Shark, Jellyfish, Turtle, Crab, Thunderbird
Mid (6-10)
Mountains
Animals tracked here: Goat, Bear, Caracal, Honey Badger, Griffin, Yak, Bull, Roc, Thunderbird, Caladrius
Taiga
Animals tracked here: Tanuki, Husky, Fenrir, Kitsune, Jackalope, Wolf, Cockatrice, Caladrius
Winter
Animals tracked here: Sabertooth Tiger, Lindworm, Mammoth, Polar Bear
Prehistoric Forest
Animals tracked here: Velociraptor, T-Rex, Spinosaurus, Brachiosaurus, Gallimimus, Dimetrodon, Triceratops, Pterodactyl
Deep Waters
Animals tracked here: Plesiosaur, Kraken, Mosasaurus, Megalodon, Whale, Shark, Swordfish, Anglerfish
End (11-15)
Ancient Ruins
Animals tracked here: Hydra, Minotaur, Sphinx, Qilin, Archaeopteryx, Microraptor, Leviathan, Triple Cobra
Mythical Paradise
Animals tracked here: Phoenix, Dragon, Wyvern, Amphiptere, Simurgh, Pegasus, Unicorn, Raiju. Phoenix ($380Qi/s) and Dragon ($270Qi/s) headline the classic endgame before the new maps reset the ceiling.
Shadow Realm
Animals tracked here: Nightmare, Shadow Demon, Hellhound, Phantom Dog, Shadow Wolf, Cursed Owl, Cursed Raven, Black Cat
Harvest Fields
Animals tracked here: Headless Horseman, Pumpkin Golem, Witch, Jack-o'-Lantern, Witch's Cat, Scarecrow, Zombie Crow, Raven
Phantom Harbor
Animals tracked here: Ghost Pirate, Lich, Ghostly Horse, Banshee, Specter, Wraith, Poltergeist, Ghost. The ghost roster here (Ghost Pirate at $256Dc/s on top) is the richest pre-Wasteland farming in the game.
New maps (Oct 2026)
Nuclear Wasteland
Added with the October 31, 2026 NEW MAP updateAnimals tracked here: Waste Harvester, Meltdown Idol, Rad Scarecrow, Ferro Wyrm, Isotope Angel, Glassback Colossus, Siren Spire, Reactor Golem, Sludge Mimic, Barrel Brute, Uranium Stag, Reactor Hound. The current income ceiling: Waste Harvester $410Dd/s, Meltdown Idol $205Dd/s, Rad Scarecrow $102Dd/s — the entire S-tier catchable roster lives here.
Hell
Reported by third-party tier trackers among the post-launch areasAnimals tracked here: Cerberus, Dullahan, Chupacabra, Manticore, Winged Imp, Gargoyle Bat, Bunyip, Mothman
Depth Strategy: Farming vs. Touching
Because of the thirds rule, your effective farming zone is almost always one zone behind your maximum reach. If you can just barely land throws in Ancient Ruins' front third, your real income comes from Deep Waters' back third — where you consistently spawn its rank-6 animals. The optimization is uncomfortable but simple: income per hour peaks where depth is consistent, not where distance is maximal. Push forward to unlock rosters, farm backward to fund the push.
For the new maps, expect the same structure at a higher price. Nuclear Wasteland animals were tracked in tier data just days after the October 31 event, but reaching its back third demands endgame Throw Power plus Cosmic food (Ghost Chowder tier and up). Hell — reported by tier trackers with the Cerberus/Dullahan/Manticore roster — sits in a similar band. Treat both as the late-game horizon: the S-tier incomes are real, but so is the grind wall in front of them.
FAQ
How many zones are in Throw Food For Animals?
What order should I progress through the zones?
What Throw Power do I need for each zone?
What is the Nuclear Wasteland?
Why do I keep catching weak animals in a strong zone?
Which zone has the best money farming?
Do the new maps replace the classic zones?
How does the Animal Index interact with zones?
Data checked November 8, 2026. Throw Food For Animals updates often — we re-verify numbers after each update.